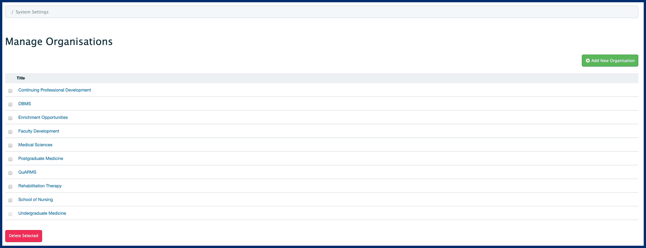
In Elentra, 'Organisation' refers to an entity using and managing its own Layouts, Tags, Courses/Programs, Learning Events, Gradebooks, etc. Examples of Organisations include Undergraduate Medicine and Postgraduate or Graduate medicine.
An Organisation is the highest level of an overarching 'container' within Elentra, of which all of the System Settings are configured and customized within. Many Organisations can be created within your instance of Elentra, and the System Settings will remain specific and only applicable to each individual Organisation. A Organisation is the first thing that must be created when starting to build your instance of Elentra.
To add or manage an Organisation, follow the below steps:
- Navigate to Admin > System Settings.
- Click Add New Organisation.

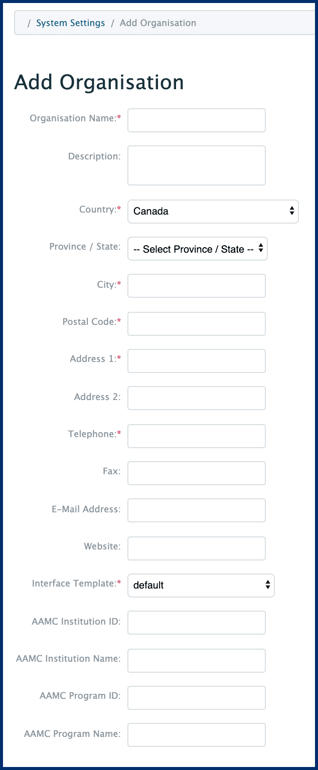
- Provide the required information; required fields are defined by a red asterisk.
- Interface Template: Some installations may only offer the default template; however, check the dropdown menu as there may be the option to select a Postgraduate or Undergraduate template, which will change the language throughout the platform to be relevant to that organisation.
- Optional AAMC fields: Required if you plan to use Elentra's Curriculum Inventory Report. If you are unsure of your AAMC Institution ID, contact ci@aamc.org.
- Click Save.


