Article Content
This article covers the following topics. Click on the topic to go to that section of the article.
Logbook Introduction
The purpose of the logbook is so that you can log experiences and both you and admin/faculty can view your learner progress in a logbook. In your Logbook area, you may have a separate logbook for each course using a logbook or one logbook as part of a logbook course. You can log entries while actively enrolled in a course that is using a logbook. You may not be able to log an entry after you are no longer actively enrolled in the course.
Note: Some institutions choose not to use the Logbook feature of Elentra. If you do not see a Logbook tab in your user profile icon dropdown menu, this feature is not being implemented by your institution.
Access your Logbook
Step 2: View incomplete and complete logs and log new entries.
- Select a course from the drop down list & Enrollment Period to filter to a particular course and curriculum period logbook. You may have a "Logbook Course" where you can log across your courses, this will depend on how admin have configured your logbooks.
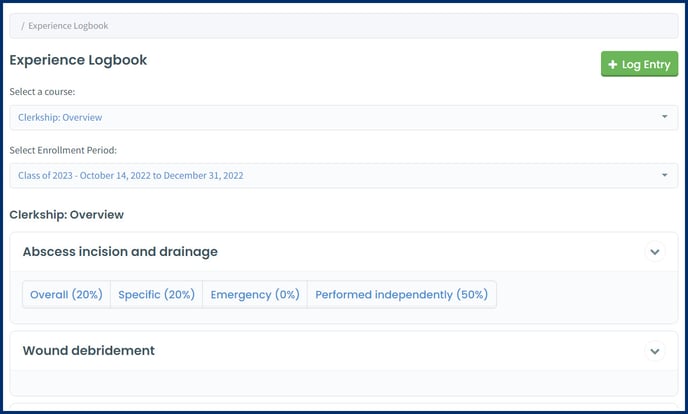
- You'll see a list of curriculum tags or tag subsets, an overview of the requirements, and your progress towards those requirements (e.g., 60% of required entries in an ER setting).
- Click on a label (e.g., ER) to view additional details about your logged entries (e.g., 4 Required, 0 Completed).
- Grey labels show the entries required and green labels show the entries completed.
- If your tags are structured in a hierarchy then click the chevron on the right side of a tag subset to view completion details for individual tags.
- Click the tag name or black chevron beside the tag name to view a list of existing entries.
![]()
Step 2: Click Log Entry at the top of the logbook.
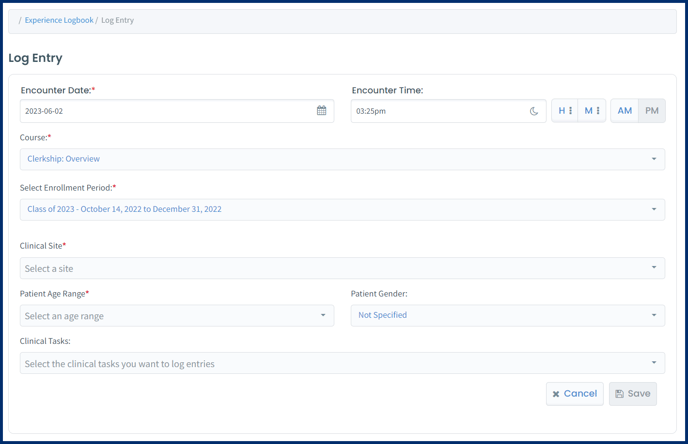
- Encounter Date: This is required and can be set to before the current date if a learner needs to log a past experience.
- Encounter Time: This is automatically set to the current time, but can be adjusted as needed.
- Rotation: This will be preset with the course you were looking at when Log Entry was clicked, but can be adjusted as needed.
- Clinical Site: Click anywhere in the bar to access a list of available sites, then click on the appropriate site. (If no sites were configured for the course logbook, this option will not appear.)
- Patient Age Range and Gender: These will appear as default fields on all logging forms and Gender will automatically be "Not Specified".
- Clinical Tasks: This is where the learner can indicate which tags they are logging with this form. Learners can add more than one tag to a form; if they do, they will have a place to log the details for each tag.
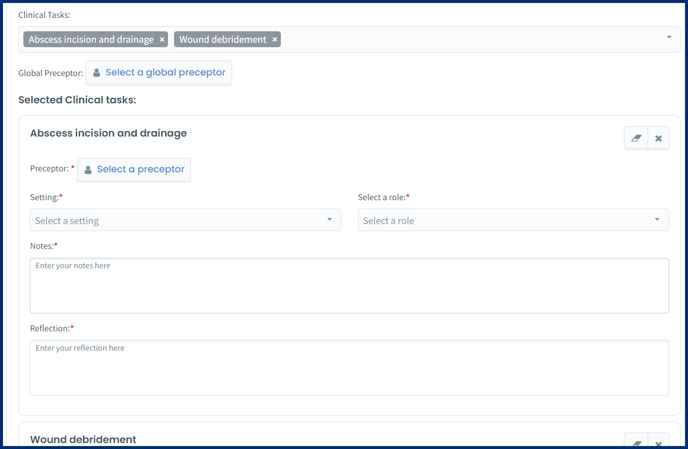
- For each Clinical Task selected, you will be prompted to enter additional information. The details required to enter and the options for the different fields has been configured by an administrator of the logbook.
- If logging multiple tags on one form, a Global Preceptor option will be available. This permits learners to easily apply the same preceptor to all the tags (although they can still change the preceptor on a specific task).
- Preceptor: This field will appear if an observer is required for this entry. Start typing a name to see a list of people, then click on the appropriate name to select a preceptor.
- Note that a list of recently used preceptors will display for convenience.
- If an external user (i.e., someone without an Elentra account) should be associated with a tag, click Add external user.
- Provide first and last name and email address. Click Create.
- Setting: Click anywhere in the bar to access a list of available settings, then select the appropriate setting.
- Role: Click anywhere in the bar to access a list of available roles, then select the role that best describes what role the learner did during this encounter.
- Notes: enter any notes about the encounter.
- Reflection: enter a reflection about the encounter.
- Time Spent (minutes): This will only display to learners if the loggable encounter was configured to require time. Time is entered in minutes.
- Clear the contents of a form by clicking the eraser icon.
- Users will be asked to confirm their decision. Click OK to confirm.
- To deselect a task and remove it from the logging form click the small x beside the eraser icon.
- Users will be asked to confirm their decision. Click OK to confirm.
- Step 4: Click Save to see a success message. The entry will be added to the list of logged entries for the learner.
![]()
Review your Logbook Status
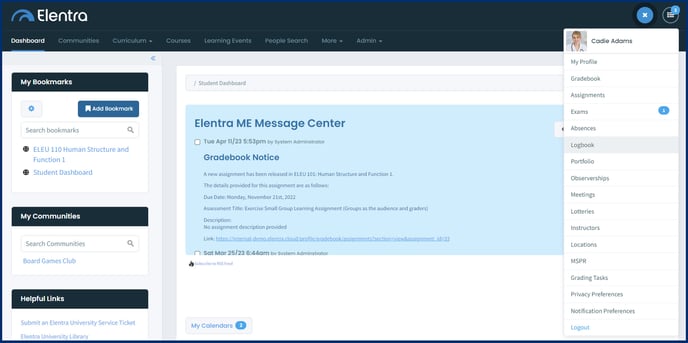
Step 1: From the user icon in the top right, select Logbook.
Step 2: You will be brought to your logbook page where you can review your logs for each logbook assigned to you. Select the logbook you would like to review by using the course and enrollment period filters.
- On the Logbook page, there will be an overview of the requirements for each loggable activity (e.g., setting names, roles, etc.). Click on a specific label to see your requirements and progress within that category. In the following example, this learner still has 2 entries to complete in an Emergency setting.
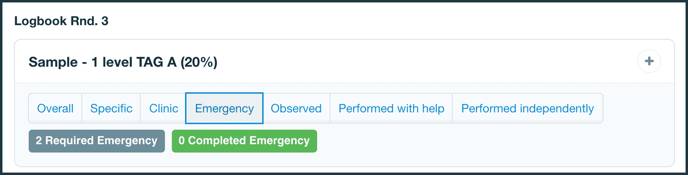
-
- Grey labels show the entries required and green labels show the entries completed.
- Click the plus or chevron icon on the right of the card to expand it and view the overall count of logged entries. In the following example, the learner has only completed 1 of 5 total required entries for TAG A.
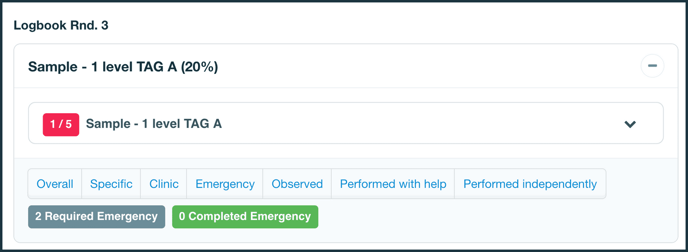
- If a top level card is the title of a hierarchical tag set, the learner will see multiple tags within that set when the card is expanded.
- Clicking the downward chevron beside a tag will show a list of all logged entries for that tag. In the following example, we can see that the learner has made 1 log entry for the Abscess incision and drainage loggable activity. Clicking on the pencil icon will open the logged entry and the learner can make edits to it. You may not be able to log or edit logs outside of the enrollment dates of the course that is connected to the logbook in question.
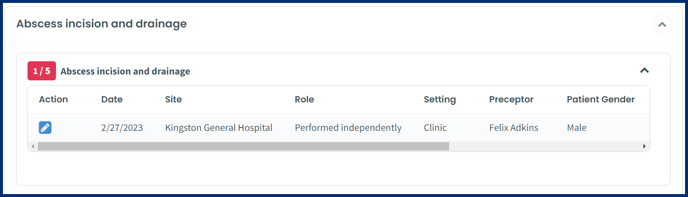
- If time spent completing an activity is a logging requirement for a tag, the time recorded for an encounter will also be shown.

![]()