Manage observership requests within Elentra
Article Content
This article covers the following topics. Click on the topic to go to that section of the article.
Note: In Elentra, observership records are created as requests by learners, and approved by an administrator.
Enter an Observership as a Learner
To begin, the learner must navigate to their profile menu in Elentra, then click on Observerships.

Complete the required information and click Submit. The observership will display in the Unconfirmed section of the learner Observership dashboard. Once approved, it will display in the Confirmed section.
Manage Observerships
To begin, navigate to the Admin menu> Manage Observerships.

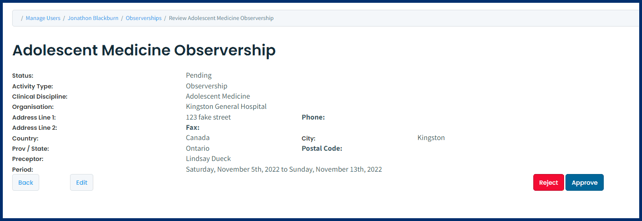
Use the selection buttons to the left of the Student column and the Approve or Reject buttons to manage requests in bulk. Review an individual observership request by clicking on the Title of the observership to view more details.

Administrators can always view and manage observerships from a learner's Elentra profile, as well as in Manage Observerships. From the student's profile, under Student Management, click on Observerships. From here, use the Status selector to update the observership request and click Save.

Report on Observerships
Navigate to Admin> System Reports. Scroll to MSPR Reporting and click on Observership Report. Set the date range and additional filter fields if desired, and then click Create Report.


